Mini Plotter V 0.8
Design
Square Bearing
There has been a v.50 which I created. In that version, we learned that using high quality linear rods made the machine work fairly well. However, to make a more cost-effective machine for the next phase, we replaced the smooth rods with lower quality ones. The issue was that these smooth rods had varying diameters, ranging from 6.8 to 7.1 mm. We had to create a mechanism to ensure smooth movement with the machine.

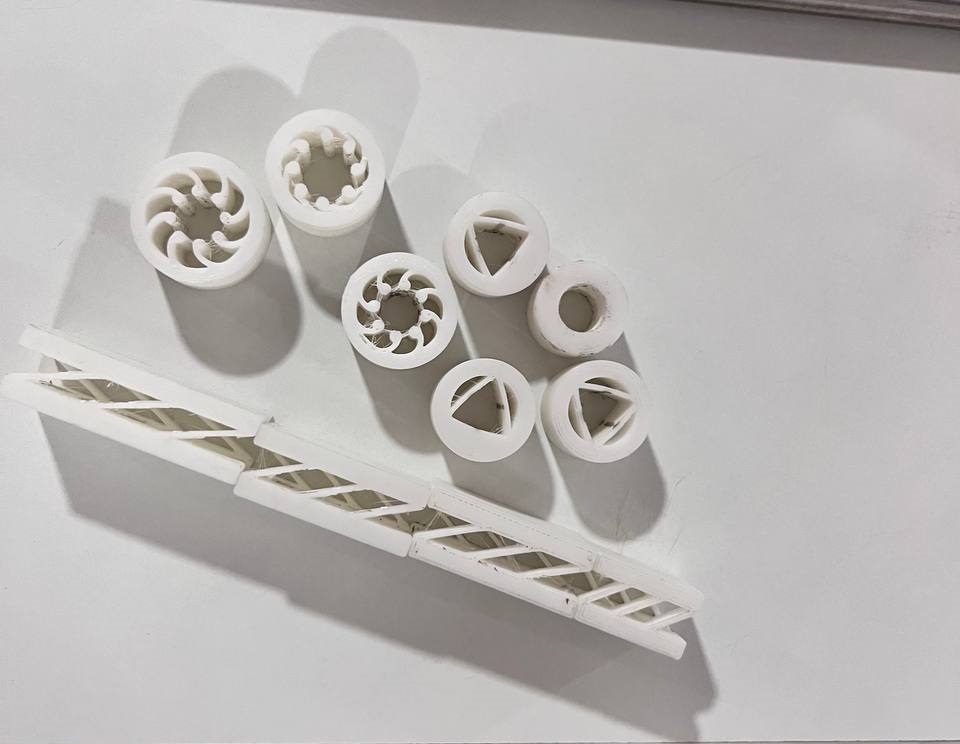
The journey of the square bearing came with many iterations. I tried the usual 3D-printed bearings available online and experimented with different designs by including various compliant mechanisms inside the cylindrical bearings. Unfortunately, the results were unsatisfactory. When the point of contact increased, the bearing became stiff. Conversely, when the point of contact was reduced, the compliant mechanism easily broke.
Therefore, a new method was necessary. While making the other bearings wasn’t in vain, they taught me something valuable. The compliant mechanism inside the cylindrical type of bearing only has limited space for flexibility. A longer working area was necessary. This led to the birth of the square-compliant bearing. The bearing has certain conditions: it will only work under a specific rule where force can only be exerted opposite the compliant mechanism, against the compliant mechanism itself. The mechanism was created to reduce the play of the bearings. While the bearings don’t offer full control over the dimensional accuracy of the machine, they do provide tightness to the rod and reduce vibration.
Gantry
With that, the work was done, and it was ready to design the plotter with a core XY axis. I repeat, I’m not a looks-based engineer, but I wanted to avoid any curves in the design. I was influenced by the square bearing, so I opted for a square-based design.
However, adding only squares wouldn’t work because the pulleys need to be circular. Making the outside of the circle square was inefficient because it wasted a lot of space. This idea was changed to a decagon, perhaps influenced by my creation a little too much. In any case, I realized I shouldn’t design solely for aesthetics. I can, however, design for functionality. This made me consider the weight of the machine. While some people might find lattice structures visually appealing, their true beauty lies in the high strength-to-weight ratio. I shredded the design into a combination of links that follow the grain of the 3D printing process. I hate cutting across the grain because it weakens the print. This resulted in a lightweight version of the gantry
Now we needed the pulleys and the length thread tighteners. We couldn’t really add any more straight lines into it, so a circle it was. The pulleys needed to be held down to the motor, and it was derived from the previous version. Then the angled pulleys were designed in the back. The pulley holder was initially rectangular, and then I turned it into a cashew shape, but it took after the idea of the square design, so I changed it into a triangle. Yeah, that was done too.
Z-Axis
The Z-axis consists of 3D-printed parts. The X-axis movement is caused by a rack and pinion system with a servo motor. The limit switches for the Z-axis are mounted on the X-gantry. The system consists of thread tighteners and square linear rods. And yeah, the machine is complete! Viola!